
We just got hit with a big storm yesterday. I of course, had a dentist's appointment scheduled for my daughter for that morning and decided to venture out rather than reschedule. Not the best idea I've ever had. But, we made it safe and sound, picked up a few essentials at the store, and hunkered down for a day inside.
By today, I was finally ready to put some effort into a fun activity and maybe even take the kiddo out into the snow. I chose another childhood favorite, In The Night Kitchen by Maurice Sendak. It's a very visual book that's laid out in sort of a graphic novel way with very little text on each page and wonderful illustrations. My daughter loved it and wanted to read it twice (as per usual), and was especially tickled with the 'sound words.'
 |
| Take note of the Caldecott medal on the front cover. |
 |
| The graphic novel-esque layout and the inspiration page for our activity. |
The recipe I used takes about 1 1/2 of rise-time, so it's a bit of a commitment, but perfect for a snowy winter's day. You are supposed to use a bundt pan to keep the pieces contained, but ours is currently in storage, so a regular old pan works almost as well. Ignore the fact that the kitchen is definitely not presentable for company, please. :)
 |
| Mixing the eggs into the yeast mixture |
What You'll Need:
(Recipe from Bon Appetit)
Ingredients
2/3 cup whole milk
5 tablespoons sugar, divided
1 3/4 teaspoons active dry yeast (from one 1/4-ounce envelope)
2 large eggs, room temperature
2 3/4 cups unbleached all-purpose flour
1 teaspoon kosher salt
1/2 cup (1 stick) unsalted butter, cut into 1-inch pieces, room temperature, plus 1/2 tablespoon, melted
Preparation
Stand Mixer Method
Heat milk in a small saucepan over medium heat or in a microwave until an instant-read thermometer registers 110°–115°. Transfer milk to a 2-cup measuring cup; stir in 1 Tbsp. sugar. Sprinkle yeast over milk and whisk to blend. Let sit until yeast is foamy, about 5 minutes. Add eggs; whisk until smooth.
Combine remaining 4 Tbsp. sugar, flour, and salt in the bowl of a stand mixer fitted with a dough hook. (If making Vanilla Cloverleaf Sweet Rolls, scrape in seeds from vanilla bean. If making Apricot-Anise Tarts, add aniseed.) Add milk mixture. With mixer running, add 1/2 cup room-temperature butter, 1 piece at a time, blending well between additions. Mix on medium speed for 1 minute. Knead on medium-high speed until dough is soft and silky, about 5 minutes.
Brush a medium bowl with some melted butter; place dough in bowl. Brush top of dough with remaining melted butter; cover with plastic wrap. DO AHEAD: Can be made 1 day ahead. Cover with plastic; chill.
Let dough rise in a warm, draft-free area until doubled in size, 1–1 1/2 hours (or 2–2 1/2 hours if dough has been refrigerated).
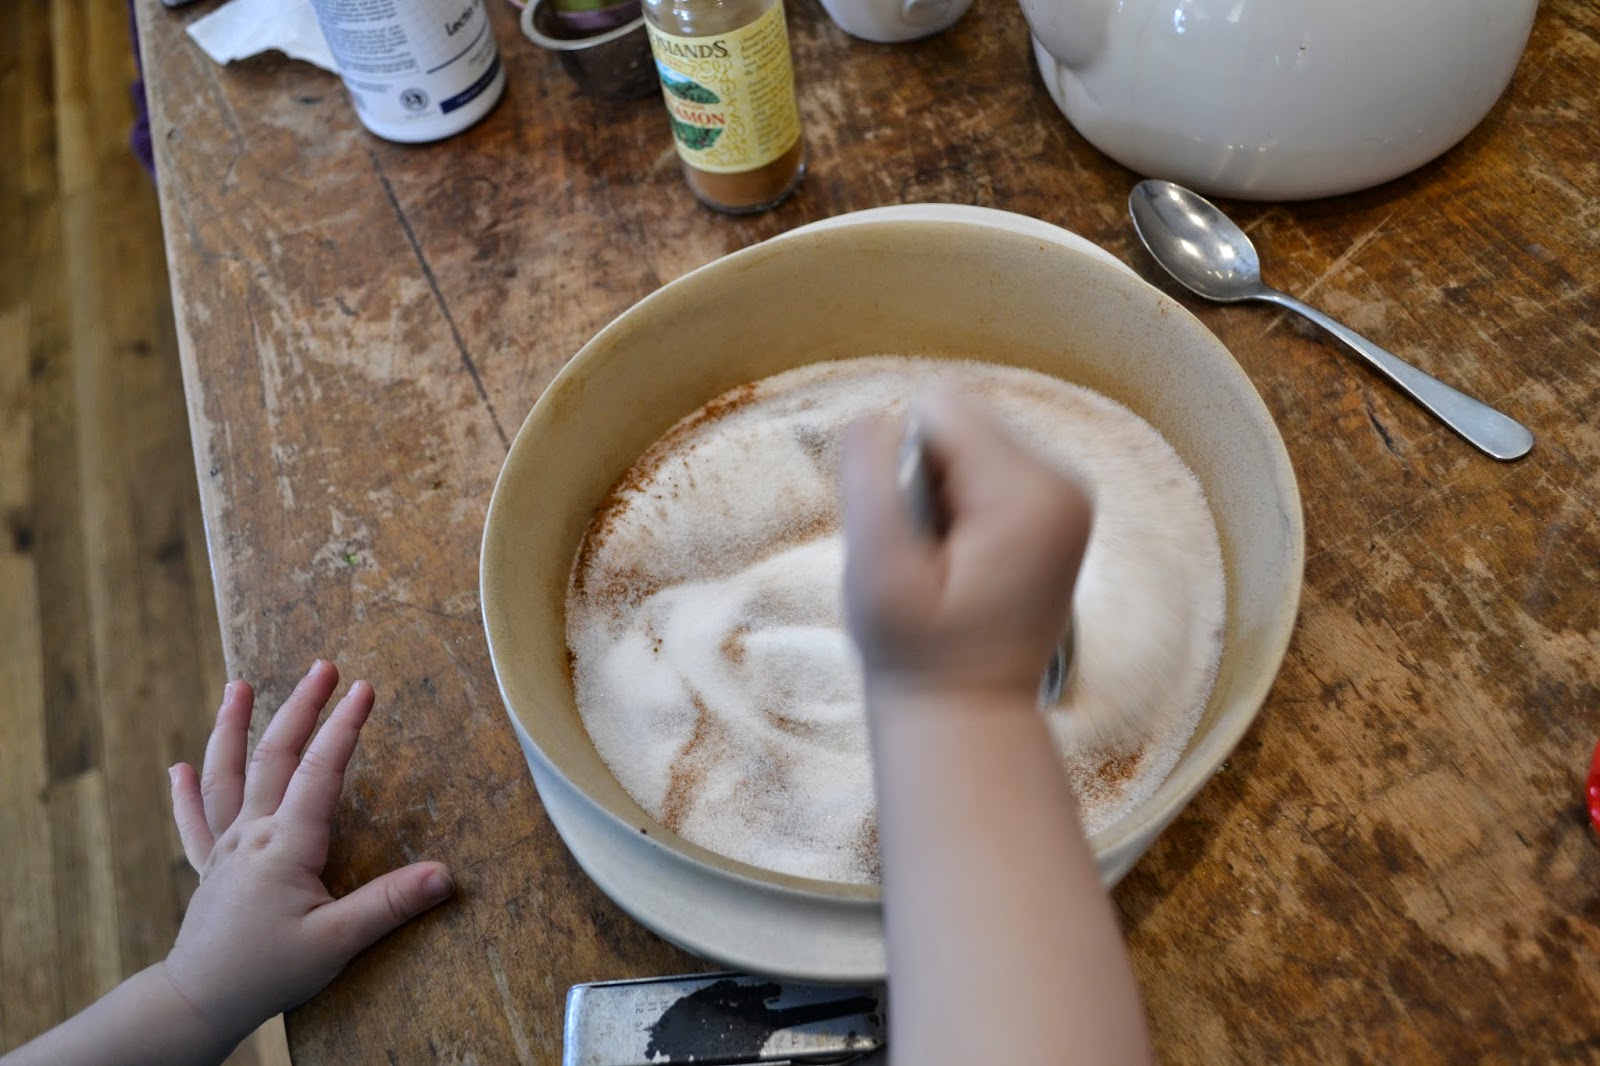
 |
| The Process |
Once the dough has risen, you break off little balls, roll them in a stick of melted butter, then a cinnamon-sugar mixture and place it in your baking dish. This is the fun/messy part for kids. Preheat your oven to 350 degrees F, let the dough rise again while the oven is preheating and pop it in the oven for 30-35 minutes or until golden brown. Let it cool on the stove for about 10 minutes, then you can flip it out of the plan onto a serving platter, or a cookie sheet covered with aluminum foil for easy clean-up!

 |
| As you can see, I just placed them in a ring shape inside my baking pan, but you can use a bundt pan to make it even easier. |
Then you get to eat! My daughter called it Mickey Monkey Dough (Mickey is the little boy from the book) and, of course, enjoyed eating the bread the most! Have so much fun and let me know what you think of this recipe, if you try it!

No comments:
Post a Comment